Showing posts with label kimono. Show all posts

Thursday, 7 February 2013

TV Project 1: Kimono Coasters

Kimono silk is just something I can't resist, it's sexy makes me think of geisha.  It's also awkward to work with, since it is so sheer and thin.  I like to always have a project on the go that I can do while watching TV. So this is my TV project du jour.   

NOTE: The instructions for the rosettes can also be used to make the ones you saw on the boudoir pillow.  Imagine a pillow with kimono silks! Ooh la la, get your Valentine's horny on!

Level: Beginner
Time: 2 hours per coaster
Cost: $2 (approximately
Materials and Tools:
Hexagon template, size: 1 inch per side
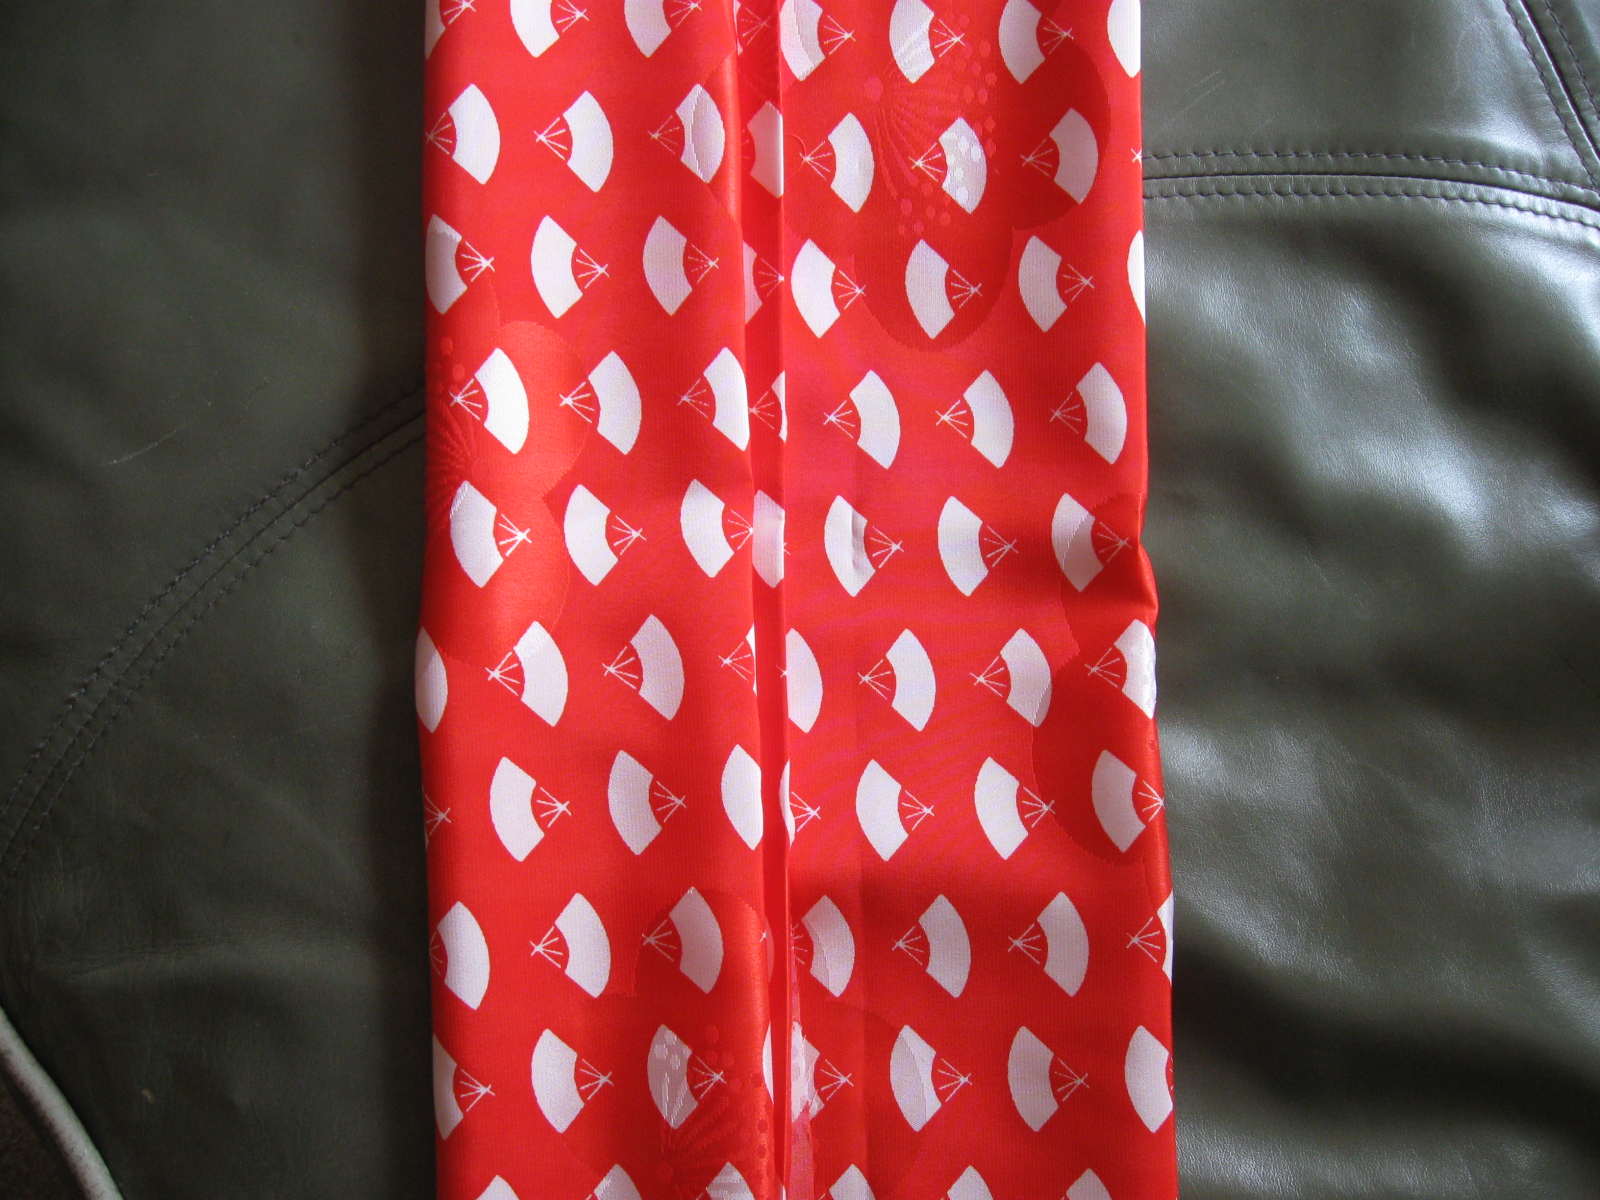
Kimono silk scraps (or scraps of cotton quilt weight fabric) in three different patterns in similar colors.
1/2 yard of grey felt
Thread in contrasting color and matching color
Pins
Scrap paper
Needle
Iron
Scissors for fabric
Scissors for paper

- First cut seven hexagons out of scrap paper
- You are going to need one hexagon from one patterned fabric then three each from two additional patterns
- Place your paper hexagon onto the wrong side of your chosen fabric and pin in place
- Cut around the hexagon with a quarter inch seam allowance
- Fold the fabric seam over the paper and tack all the way round with the contrasting thread
- Remove pin
- Do this with all seven hexagons
- The one hexagon cut from a different fabric to the other six is the center of the rosette
- Take this hexagon and a hexagon of another pattern place them with right sides facing each other and sew the seams together with whip stitch
- Continue doing this until you have all six hexagons of alternating pattern sewn to the center one
- Iron your rosette so the seams are nice and sharp
- Remove the paper from the center hexagon and pin to the felt
- Cut out the felt so that the rosette is pinned to smaller piece of felt with some excess fabric around it.
- Remover one paper from an outer hexagon and pin to the fabric with the seam folded under
- Sew the edge with a running stitch
- Do this hexagon by hexagon until all edges are sewn to the felt
- Trim off the excess felt
- Press with iron
- DONE

Thursday, 2 June 2011

kimono Silk Patchwork


I love kimono silks and my love of paper piecing works great with them because they are so thin and floppy to work with. The paper templates are a great way of stabilizing the material.

As you can see I am using them for a fan block, the completed one is a Dresden plate block which I made years ago. These are good blocks for kimono silk pieces which I buy and are not always all that big.

Wednesday, 1 June 2011

Kimonos - true love forever


I have a problem when I get such beautiful fabrics, I can't bare to cut them up! I may not use this for a project but seam it and wear it as a scarf -yum!

Monday, 13 July 2009

Clutch Bag Tutorial Part 2


Sorry for the wait! What with getting married, working and trying to get my Etsy shop up and running, I barely have time to actually do any crafts these days! But things will calm down in August, I hope.

Anyway, here's the second part of the clutch bag tutorial. This will take you up to sewing the layers together. Part 3 will deal with fitting the zip.

After sewing your two halves together, your bag should look a bit like this.


Next, you need to add the centre piece of fabric. Put the open hole over the wrong side of the fabric you want to use and draw a circle. Cut this out with a 1/4 inch seam and pin to your bag.


Turn over and slip stitch tiny stitches all the way round.


When this is done, remove the papers from the fan (these can be used again if you are careful!),make your quilting sandwich using the batting and lining fabric. Allow excess for batting and lining, it comes out smaller after quilting.


You can now pin the layers together for quilting. Either quilt straight lines throught the fronds of the fan or 'in the ditch', following the seam.

Next, fold the lining and and outside patchwork edges inwards a few millimeters and sew the layers together using whipstitch. Or you could add bias binding and machine stitch.

You now have a disc ready to fold in half to add the zip!

Monday, 29 June 2009

New Ways with Patchwork: Clutch Bag Tutorial Part 1

I originally found this design in a book my friend has on patchwork bags, I LOVE fan patchwork and it's the perfect project for my pending nuptials. Months back when we first got engaged, I went mad buying kimono silk with the idea of maybe using them for the wedding. Well here's my chance. The bag is just the right size for lipstick and the like.

I amended the pattern to my own method using paper piecing which I love. It is such a small project that it won't take long and you can use very small amounts of fabric.

You will need:


  • Scraps of fabric (size depends on how big the purse will be)
    Scrap paper for the paper templates
    Batting 2oz for a 24cm long bag

  • Inner fabric as above

  • Thread (sewing and quilting thread)

  • A zip

Here's part 1


First draw a circle as big as you want to clutch to be. Mine was drawn with a compass set to 12 cm.


Cut the circle out. To make the fronds you need to divide the circle into 16 equal segments. Do this by folding the circle eight times, mark the folds with a ruler and pen. Set a compass at 4 cm and draw this smaller circle in the centre of larger circle. Cut the large circle in half. Then cut out the semi-circles and then cut the 16 segments out - picture below.


The semi-circles you don't need but the fronds are for your paper piecing. Pin them to the wrong side of your fabric and cut them out with a 1/4 seam approx (sometimes use more). You will see I used pinking shears, this was to stop the fabric fraying - very common with some silks.

When you have cut out the fabric pieces, use a contrasting thread to tack the sides over the paper in biggish stitches. After, you can remove the pins.

Use the pieces to decide on your combination then take the two first put them right side to rights side, with the paper and fold seaming showing outward and whipstitch together. Continue until you have two semi-circles.


Part 2 will come when I do it myself - either tomorrow or day after!

Saturday, 24 January 2009

Crazy for Silk


Below is a picture of the first example from my crazy patchwork quilt. I am using vintage kimono silks. I love these silks, the patterns are stunning. I decided on crazy patchwork because silk is fiddly and I didn't feel ready to try and make them into accurate blocks, though I might try that next with fusible interfacing.

Next step is to embroider the patch.