Showing posts with label fabric. Show all posts

Monday, 13 October 2014

Creating a Handmade Childhood: Log Cabin Pillow


I am so pleased to get another nursery project finished! It's getting harder and harder to get on the floor to measure and cut fabric these days. I actually did the design for this pillow over a year and a half ago then stuffed it in a draw.  It's funny to think that one day it was to end up as an accessory for a nursery. 

Log cabin is the pattern and it's a lovely one to try, especially if you are new to quilting. You don't need a template or even a rotary cutter. Here are some good resources on doing log cabin from about.com. The pink fabric with cocktail olives is one of my own designs, and you can by the fabric at Spoonflower.com, it's called 'Cocktail'

Thursday, 18 September 2014

Conscious Design when Crafting

Here's the problem I have encountered. I love to craft, I love sewing and making things. BUT, my taste does not lend itself to filling my house with loads of fabrics and I don't like a look that is 'homemade'. So how does a person indulge their love of crafting while still making things that will fit into a contemporary aesthetic?
Some things to consider:
- Choose a base color and/or fabric that will add cohesion. For me it was natural colored linen. It is beautifully neutral and I have not found a color that doesn't work well with it. The linen looks clean and minimalist and blends well. Consider some other fabrics: ecru muslin, indigo dyed cotton, white cotton, burlap. When you have chosen, stick to that choice.

While the maple leaf blocks in this quilt are made from quite old-fashioned floral designs, the white cotton gives it a contemporary twist. This quilt could be put in many a modern home and it wouldn't fight with the established decor.

- Complement the base color and/or fabric with carefully added patterns and colors. Not only does this result in a less loud and homemade look, it is very economical. You don't have to go crazy buying yards of gorgeous prints. A fat quarter will go a long way. In fact scour thrift stores for cool fabrics that you can use from old clothes, then use it sparingly to add emphasis.

With these book covers, I added just a few squares of patterned fabric for emphasis. These fabrics came from all over the place, one is an old bed sheet.
- Don't be afraid of blank space. This is common advice in graphic design. You don't have to fill every blank piece of fabric with applique, embroidery and patchwork designs. Sometimes a trim of squares in patterned fabric is all you need or a button or two. Less is more because it doesn't get lost in an assault of busy-ness.
The white background really enhances the origami crane.

- Play with texture. Using different textures is very fashionable right now and is a fun way to incorporate different crafting techniques. Pair chunk knit with a cotton panel in a pillow. Mix different fabrics, but remember go easy.
The two materials here are burlap and cotton. There is no intricate design, the interest comes from the contrasting textures.

- Stick with basic designs if you want to play with colors, sewing techniques etc. Tote bag designs are everywhere these days. They're popular because the designs are simple and therefore easy to execute, but the simplicity gives you a blank canvas on which to experiment with patterns or embellishments. I see a lot of patchwork blocks that are beautifully intricate but I don't enjoy the look because so many different patterns and colors have been used. The more intricate the project the more conscious you need to be of not going crazy with materials.
This messenger back was extremely easy to do and a very simple design which meant I could be bold with fabric. Both fabrics are from old bed sheets.

Friday, 8 February 2013

The De-Stash Project

It's time. Time for what? A massive de-stash.  I am terrible for holding onto fabrics for some future time. Well it's time.  I am going to be bold and try and use up as much of my stash as I can with different projects - pillows, table runners, throws etc.  Watch out for new items, tutorials and a new Etsy shop.  Yes, ANOTHER one!

Thursday, 7 February 2013

TV Project 1: Kimono Coasters

Kimono silk is just something I can't resist, it's sexy makes me think of geisha.  It's also awkward to work with, since it is so sheer and thin.  I like to always have a project on the go that I can do while watching TV. So this is my TV project du jour.   

NOTE: The instructions for the rosettes can also be used to make the ones you saw on the boudoir pillow.  Imagine a pillow with kimono silks! Ooh la la, get your Valentine's horny on!

Level: Beginner
Time: 2 hours per coaster
Cost: $2 (approximately
Materials and Tools:
Hexagon template, size: 1 inch per side
Kimono silk scraps (or scraps of cotton quilt weight fabric) in three different patterns in similar colors.
1/2 yard of grey felt
Thread in contrasting color and matching color
Pins
Scrap paper
Needle
Iron
Scissors for fabric
Scissors for paper

- First cut seven hexagons out of scrap paper
- You are going to need one hexagon from one patterned fabric then three each from two additional patterns
- Place your paper hexagon onto the wrong side of your chosen fabric and pin in place
- Cut around the hexagon with a quarter inch seam allowance
- Fold the fabric seam over the paper and tack all the way round with the contrasting thread
- Remove pin
- Do this with all seven hexagons
- The one hexagon cut from a different fabric to the other six is the center of the rosette
- Take this hexagon and a hexagon of another pattern place them with right sides facing each other and sew the seams together with whip stitch
- Continue doing this until you have all six hexagons of alternating pattern sewn to the center one
- Iron your rosette so the seams are nice and sharp
- Remove the paper from the center hexagon and pin to the felt
- Cut out the felt so that the rosette is pinned to smaller piece of felt with some excess fabric around it.
- Remover one paper from an outer hexagon and pin to the fabric with the seam folded under
- Sew the edge with a running stitch
- Do this hexagon by hexagon until all edges are sewn to the felt
- Trim off the excess felt
- Press with iron
- DONE

Pimping My Boudoir 2: Throw Pillow

It's true, throw pillows are probably the cheapest and most effective way of giving your decor a facelift!  My sister-in-law is obsessed with them and has passed that obsession on to me.  I don't have a zipper foot for my sewing machine yet so decided to do a sleeve instead.  It worked well enough, but in the future I would make the overlap larger as the pillow is a little visible at the back.  Anyway, this is all good practice for making items to sell. 

Tuesday, 21 June 2011

razor blade hairband

razor blade hairband by liz_watkin
razor blade hairband, a photo by liz_watkin on Flickr.

I have recently been working on some new fabric designs. Here's a razor blade pattern that have produced using the wonderful Spoonflower.

razor_blade


Monday, 6 June 2011

Cushion Cover


New cover, the rosettes are paper pieced and hand appliqued, the top will be machine sewn as soon as the voltage converter comes for my UK machine!

Wednesday, 1 June 2011

Kimonos - true love forever


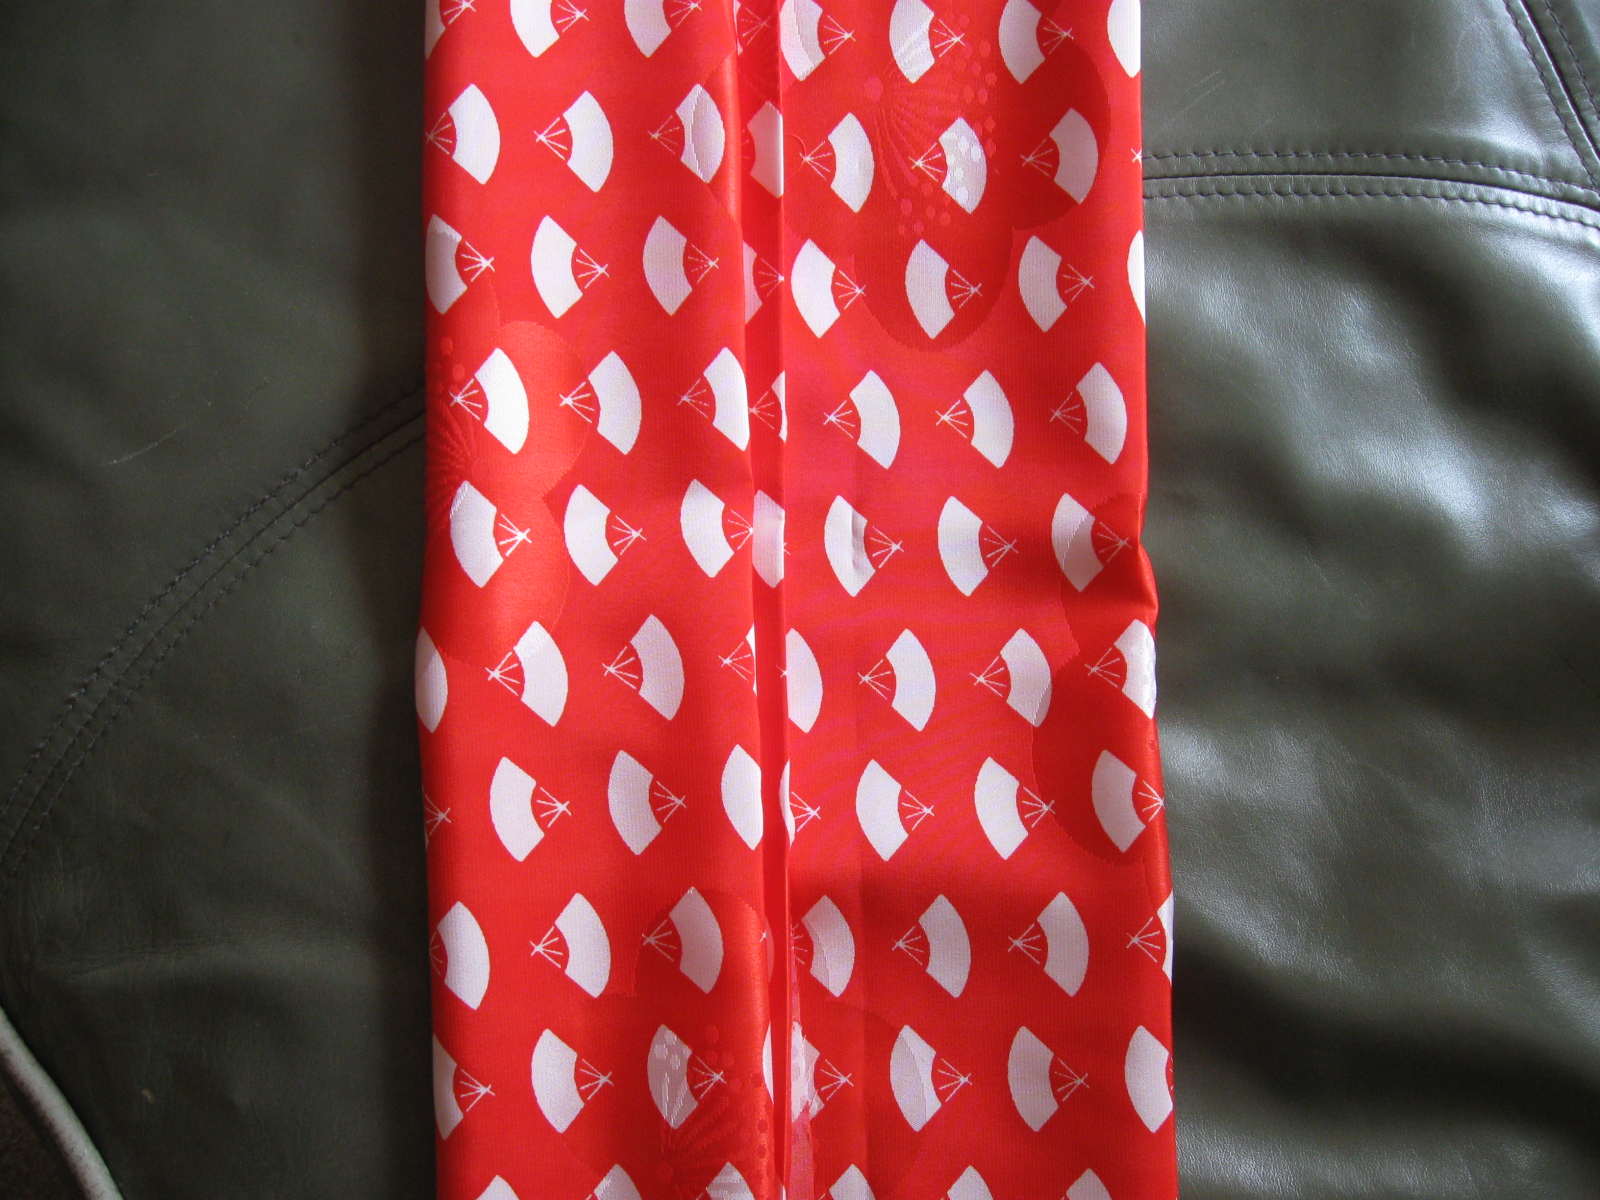
I have a problem when I get such beautiful fabrics, I can't bare to cut them up! I may not use this for a project but seam it and wear it as a scarf -yum!

Wednesday, 17 February 2010

My Pennant Quilt Progress


I am still squirreling away on my paper pieced quilt and about half done with the top. Superbowl weekend I laid my first lot of strips out and found one doesn’t quite match in size which is a little irritating and also mystifying, but I am sure I will come up with a way make it work. I have made a new template to add straight edges to each end of the pennant style triangles so that I have a straight rectangular quilt to work with when the strips are sewn together.

Sunday, 14 February 2010

Crazy Patchwork Valentine


So this is the card I made for my husband. It's in the style of crazy patchwork using fabric glue. I just stuck a bunch of scraps to some card then cut out the shape of a heart. I think I'll make some more cards like this.

Saturday, 13 February 2010

Zakka Folder

Here is the first folder I tried to make to keep my crafty papers in. Unfortunately I didn't plan it well so I couldn't add pockets. I have a new method though so the next one will be perfect! I experimented with two types of applique. I like the button hole style but it takes a while.
I used extra thick interfacing to make th folder slightly more rigid.

Thursday, 11 February 2010

Business Journal III - Finding a theme

Since I have been thinking seriously about selling my crafts, I have been deciding on a cohesive theme for my pieces. Since I am a bit of a geek/writer/bookworm, I have decided to focus on new designs for stationery solutions. So that means folders, book covers (of course), pencil cases etc.
I am also carefully choosing fabrics, as you know I have mentioned before how limited materials are here, but I have been making some really cool pieces from upcycled bedsheets, so I think I will continue down that route.

Wednesday, 10 February 2010

Zakka Book covers


Zakka book covers - they're all the rage don't you know! The first one I made was too small for my notebook so I use it for keeping recipes clipped out of magazines! The second was just right! Want to make more to sell at the craft market. The second is from upcycled bedsheets, my new thing.

Tuesday, 9 February 2010

Zakka Bag


Here it is, the bag is finally finished. The material came from some bedsheets a friend of mine was giving away, they matched so beautifully I couldn't resist making something with them. My friend went crazy when she saw the bag so I am going to make her one. There are a few modifications I would like to make: First, the lining material wasn't stiff enough so my bag is kind of floppy! I wanted it to be like an academic satchel. Second, I didn't include any pockets or dividers becaus I was too impatient, it definitely needs some as I am fishing around for my phone and keys a lot.

Tuesday, 26 January 2010

Salaula Treasures


Yesterday I went to the giant salaula market here in Lusaka. Salaula is second hand clothes and this market had EVERYTHING, as another friend said, it’s like a department store, the market is organised into sections – skirts, children’s clothers, shoes, menswear etc. I saw some really great stuff and bought these wonderful bed sheets which I will use for quilting. Aren’t they funky?

Wednesday, 20 January 2010

New Adventures in Paper Piecing


I was feeling kind of down recently. It’s hot here at the moment and after Christmas I felt quite homesick, seeing all that snow and knowing my family is so far away. Nothing improves my mood than working on a craft project, especially sewing, I find it very therapeutic. So I decided to start a new quilt and luckily I have tons of new fabrics to work with (some of you regulars will have read about my love of chitenge material). As I sorted through my fabric stash and bathed in all the colours and shapes, I immediately started to feel better. I chose paper piecing again because I wanted to hand stitch my quilt and I find the slip stitch used in paper piecing super-strong. I also love the whole process of paper piecing and love the feeling of keeping alive this old method.

Considering how important precision is in quilting it’s a bit ironic that I am not a very thorough person, for example I never washed my fabrics when quilting back in the UK. Modern methods of dying mean you don’t really need to pre-wash fabrics, but the chitenge material here often runs, so I did wash them this time. Look how lovely they are with the sun shining through them on the line and the wind blowing them.

The design I am using is very simple, an acute triangle repeated alternately in cream fabric and the various patterns. I think this design will look really elegant and the cream fabric sets off the patterns well. This is a very good method if you want to use up scraps. Watch out for my method of paper piecing for you to follow coming up in the next few days.

Friday, 30 October 2009

Intelligent Patterning


With so many amazing different patterns and colours of chitenge it is very tempting to go crazy and use as many as possible in a new place like ours. We have so many windows that need curtains and opportunities for upholstering. We have been very careful though, because we don't want an over the top colour scheme. Here we put together the 3 fabrics we are sticking to for the décor of the living space. We think they match nicely and are not too over the top – the yellow print is bright and funky with the 60s style flowers, but it is complimented nicely by the pale aquamarine and gold one. We fell in love with the retro pattern on the black chitenge but have had to use it very carefully – our floors and furniture is quite dark and the print could have looked quite heavy. Instead, I cut the pattern out and used it on ecru curtain fabric so that the design is showcased and not lost against the dark wood of the floor. We have continued to use the ecru fabric as borders to maintain a uniform design.

Wednesday, 28 October 2009

Pin Cushion Fillings


I bought a cute little sewing set the other day and found the pin cushion felt a little strange when I put pins into it. I soon realised the inside had been filled with paper. First off this is a great way to upcycle paper and it also meant the pin cushion was nice and hard and gripped the pins really well. Obviously you can't wash it but then, who washes their pincushion. If the idea of filling you pin cushion with paper doesn't turn you on, try stuffing it with fabric scraps, the really small ones you can't do anything with.

Monday, 26 October 2009

Ababa House – Craft Centre


One of the best things about the place we have moved to is its location. Lusaka is such a sprawling city, really built for cars and I don't drive. Walking is fine but at the moment it is so hot that walking can be exhausting. There are buses of course but they can be dangerous and the routes are quite minimal. I was really happy when I discovered that, not only is there a big supermarket 2 minutes away and a vegetable market 15 minutes away, there is also Ababa house about 5 minutes walk away. It's in a little complex where there is also a great café (more on So Eat about that!), a chocolate shop, a hairdressers and plans for more to come. It is a lush green compound and the craft section is quite well designed with rooms leading onto each other in a gallery style. They sell a lot from social projects that help local people, including an organization called 'Tribal Textiles'. Tribal Textiles print their own designs onto fabric and make wall hangings, cushions etc. They are based near South Luangwa national park and specialize in training local women of the area so that they have new skills and a regular income.

Sunday, 18 October 2009

A New Addition


I would like to introduce my new and rather ornate looking sewing machine! I have been looking into sewing machines for a while but the more modern ones are pretty pricey, and since I have a good sewing machine back in the UK, AND I want one for a short time here, it seemed silly to buy an expensive one. Thankfully, my favourite taxi driver Litiyah also has a secret talent – he makes a fabulous personal shopper and new exactly where to take me to find something basic and affordable. So here we have the 'Flying Dove'. It looks like a Singer but is more cheaply made, when I saw it in the shop it was a manual with a hand crank, which would be a great work out for my arm! Anyway, for a little extra they were able to fit a motor so that I can use it with electricity. It works fine, though there is no zig zag stitch, the thread snaps and the motor smokes a little when you go too fast, but I managed to make some curtains with it, and I find it easier to operate than more fancy machines. I don't think it is up to things like appliqué, but I prefer to do that by hand anyway.